
BESTCARE BUILD · AUCKLAND OUTDOOR LIVING
Fencing Installation Planning for Auckland Homes
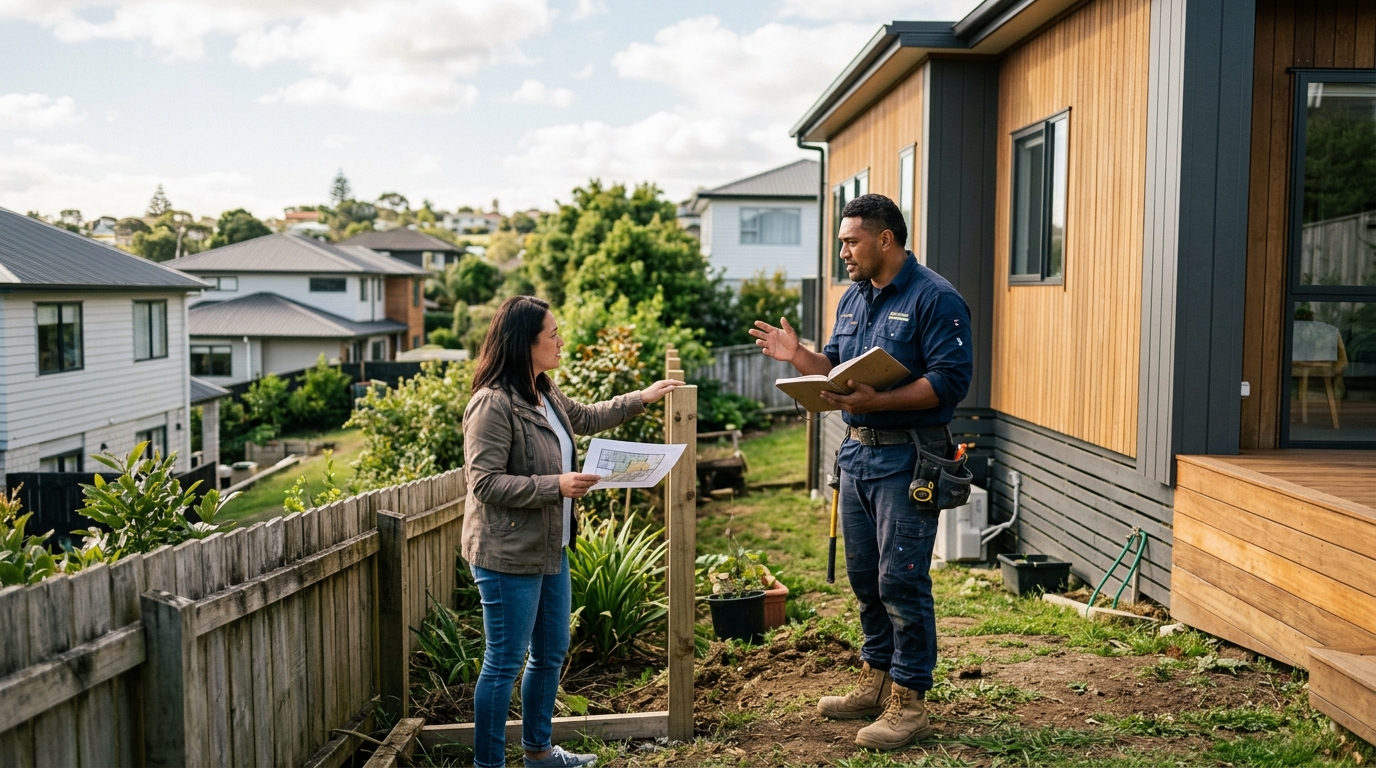
Planning a new fence in Auckland starts with the property and the people it affects. Before materials are ordered, clarify the purpose, boundary, consent questions, site conditions and responsibilities. The installation details should come from a suitable site-specific design and the people qualified to carry out the work.
This guide explains the planning steps to discuss with an installer. It does not specify post spacing, foundations, concrete curing times or structural details, and it does not establish that a particular fence is approved or safe to build.
Step 1: Define What the Fence Needs to Do
Write a short brief before asking for prices. Is the priority privacy, appearance, marking a boundary or replacing a deteriorated fence? Include gates, access requirements and nearby outdoor work that might affect the proposal.
Collect photos taken from safe, accessible areas and any plans you already hold. Note changes in ground level, existing walls, trees, drains and structures close to the proposed line. These help explain the project; they do not replace a site assessment.
Tell the installer if the proposal involves a pool barrier, a retaining structure or an area where people could fall. Those situations need their own assessment rather than assumptions based on an ordinary boundary fence.
Step 2: Check Building and Resource Consent Separately
Start with Auckland Council's fence guidance. Building consent and resource consent are separate questions. A project that does not need one may still need the other, and the proposed location and design matter.
Ask Council or your suitably qualified adviser to identify the requirements for your actual property and proposal. Do not treat a general height rule, a neighbour's fence or a photograph online as approval for your project.
MBIE's guidance on checking consent requirements explains the value of project-specific advice and appropriate expertise. Agree who will check requirements, prepare any necessary information and obtain approvals before the relevant work begins.
Keep a record of the advice and approvals applicable to the final proposal. If the design changes, ask whether those changes need another check.
Step 3: Resolve Boundary and Neighbour Questions
Discuss the proposed fence with your neighbour early, including appearance, access, timing and cost-sharing expectations. A useful conversation helps surface differences before work is booked, but it is not a substitute for any formal process or legal advice that may be required.
If the boundary is uncertain, ask what survey information is needed and who will arrange it. An existing fence or garden edge should not be assumed to mark the legal boundary.
Record the agreed scope and any unresolved matters. Avoid assuming that a neighbour must pay a particular share or that a short informal note settles every legal issue. Seek qualified advice about your circumstances where necessary.
Step 4: Arrange a Site Assessment
Ask the installer what must be checked before a design and price can be finalised. Useful questions include:
- Who will verify the proposed line and identify underground services?
- How will drains, nearby structures and neighbouring property be protected?
- What assessment is needed for the ground conditions, slope and exposure?
- Who will specify the posts, foundations, materials and fixings?
- Does this project need input from a designer, engineer or other specialist?
- What access and storage arrangements are needed during the work?
Service plans and site information need to be interpreted by the responsible people. This article does not provide excavation instructions or authorise digging. Ask the contractor to explain their service-location and site-safety process before work starts.
If a retaining wall is involved, have its relationship with the fence assessed as part of the project. Adding a fence to a wall should not be treated as a cosmetic change without considering the combined design.
Step 5: Compare Written Proposals
Compare quotes against the same brief. Ask each provider to identify inclusions, exclusions and assumptions, including:
- Site assessment, design and any consent-related work
- Removal and disposal of the old fence, where required
- Materials, finish, gates and hardware
- Access, protection of the property and making good
- Who manages any specialist work
- NZD pricing, GST treatment and how variations are approved
- Proposed programme and the factors that could change it
- Handover information and maintenance guidance
A price based only on an approximate length may leave important work undefined. Ask which items are fixed, which are allowances and which need further investigation. Confirm any warranty terms in writing rather than assuming a standard period or coverage.
Step 6: Agree Communication and Handover
Before work begins, confirm the main contact, how changes will be raised and who can approve them. Discuss arrangements for household access, pets, deliveries and communication with neighbours. The contractor should determine the practical work sequence and safety measures for the site.
At handover, ask for the agreed documents and care instructions, any relevant approval records, and an explanation of items still outstanding. Raise concerns with the responsible contractor instead of making unsupported structural changes yourself.
For ongoing care, follow the specified material and finish guidance. If the fence becomes unstable or damaged, arrange assessment rather than relying on a generic repair recipe.
Discuss an Auckland Fencing Project
Bestcare Build focuses on outdoor projects in Auckland, including fencing and retaining walls. Its fencing and retaining wall service page describes options to discuss, such as timber boundary fencing, slat fencing and privacy screens.
Use that page to request a consultation and share the broad outline of your project. Suitability, scope, availability, design requirements and pricing need to be confirmed for your property. General planning information and an illustrative image are not evidence of completed work or professional approval.